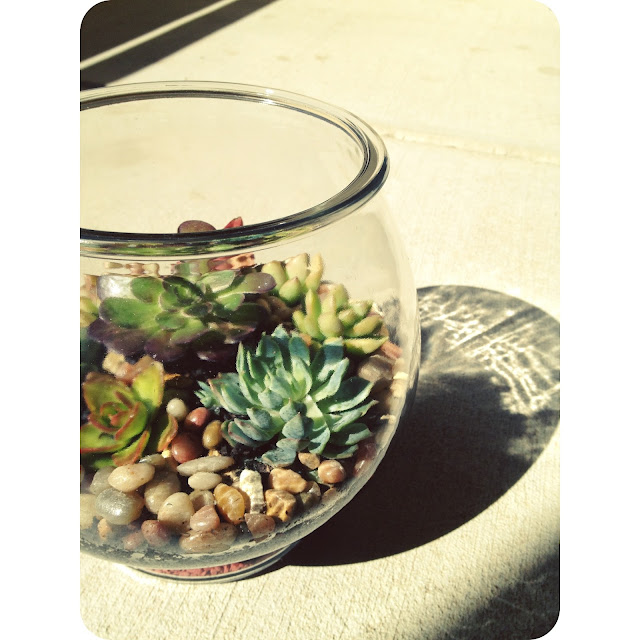
Once I moved to the US it was jaw droppingly awe-some having seasons. YES, a real Spring, Summer, Autumn (or Fall, if you want to get picky) and Winter. I never knew it could be possible but I loved gardening, growing herbs and plants from seed and watching them sprout into world like a proverbial phoenix rising from the ashes. It was for lack of a better word, thrilling! Then Summer rolled along, a heat wave ensued and all my hard work sat fried and crispy on my balcony. That's all I will say about that, it was a tough time in my gardening history and lets just say I am still working through my issues with the season known a Death (acough, I mean Summer).
Alas, I digress. The sole purpose of today's post is to show the blackest of thumbs that you are not alone, you no longer have to sit in your plant-less homes, you will no longer have to jolt awake at 3am wondering if you watered your photosynthesis, CO2 guzzling friends. For today is the day you too can know the love of a succulent in just a few easy steps. Let's start shall we...
All you need to begin are a few readily available ingredients and you are cooking with plants.
It's important when creating an enclosed environment to have a well ventilated home. This ensures that any impurities and humidity don't clog your plants or their air.
1. Find yourself a sweet little terrarium. I found mine for about $12 at Michaels
2. Start with a good drainage base; I chose colored gravel. Place a layer approx 1 inch thick at the base.
3. Activated Charcoal; may sound odd but this actually draws nasty impurities out of your little habitat you are creating. I just picked up this from my local Pet Smart. Apply a thin layer over your gravel base. Working with charcoal can be a bit of a mess, let's just say after I finished washing the product and getting it into the terrarium, I looked dirtier than one of Dick Van Dyke's sidekicks singing Step in Time on the rooftop.
Next: Soil (DUH); I didn't think I had to put a step in for this. Use approx 1-2 inches of potting mix, dependent on how big your succulents are and their roots.
4a. The flora; I chose these based on the size of my terrarium and also because Mr. J and I thought they were pretty! I am not going to get all greenhouse nerd and give you the technical names. But, if you do want to know what types of succulent I used, feel free to leave a comment.
4b. Ensure you enough room between each plant to let their roots spread a little as they get used to their new home. Make an indentation in the soil and arrange as to what you find ascetically pleasing.
5. Top off with a few small river rocks and your horticulture masterpiece is complete.
6. Give the little guys a light watering. They have just been through hell. I'm sure you're pretty thirsty when you move house, aren't you?
There you have it! A fully functional LIVING succulent terrarium to be your next conversation piece at your latest dinner party, keg party, bridal party, slumber party, baby party...
NOTE: I did sustain a minor non-life threatening knuckle injury whilst working with these thorny little suckers. I did not however break a nail. You have been warned.


No comments:
Post a Comment