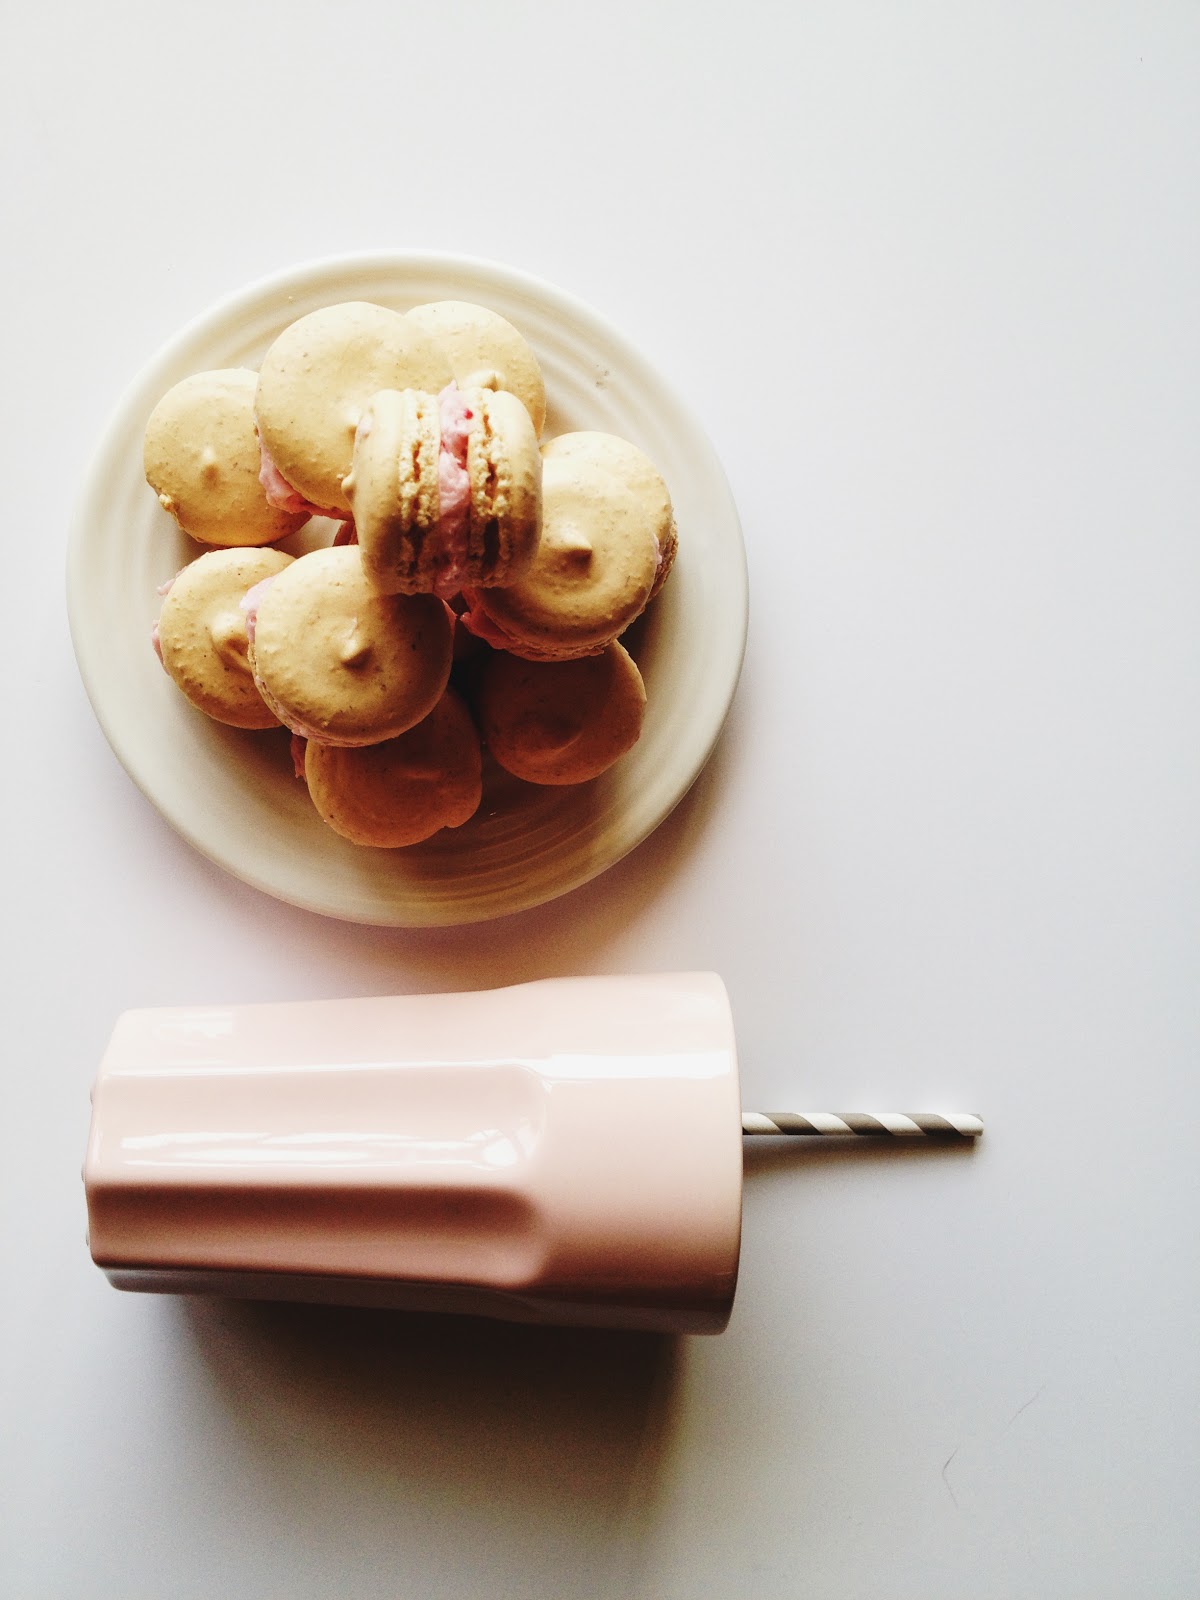
Sorry about the belated post, I was supposed to get this one on Friday but I injured my neck rolling over in bed. Yes, I am that much of a klutz that I seriously hurt myself doing the simplest of tasks. I was out of commission for 3 days but am feeling great today and have full neck function! Huzzah!
I am thinking of starting a "See how many times Kez bangs herself up" tally on the blog, I think I am up to nasty injury number 3 already!
This was my first attempt at making the gorgeous parcels of deliciousness and they really were a lot of fun to make. In saying that I will be messing with the recipe slightly next time adding here and subtracting there but for the most part I had a great morning cooking these babies and I will most likely whip up another batch this week. If anyone has flavor requests please, send them my way!
Here goes...
Vanilla Macaron
Ingredients (makes about 24 macarons)
2/3 cup of ground almonds (you can grind them yourself, buy them pre ground by the pound or Bob's Red Mill Almond meal is a great product to try also)
1 1/2 cups of powdered sugar or icing sugar
3 large egg whites at room temp
5 tablespoons of granulated sugar
1 teaspoon of vanilla extract or seeds from 1/2 a vanilla bean
+ Cut a sheet of parchment paper (baking paper) to fit your baking sheet and draw 1 inch or 2.5cm circles on the paper spacing them at least 1/2 inch or 1.5cm apart. This will act as your guide when piping the batter onto your baking sheet and ensure all your macarons are the same size when sandwiching them with your butter cream.
+ Preheat your oven to 375F or 190C
+ Sift powered sugar and almond meal through a sieve twice and set aside.
+ In a mixing bowl beat your egg whites on high speed until they are foamy.
+ Gradually add granulated sugar and vanilla to the egg whites. Keep beating until meringue mixture is stiff, firm and glossy.
+ Add half of the sifted almond and sugar mixture, stir with a spatula and ensure you stir from the bottom scraping the bottom of the bowl and incorporating all the dry ingredients.
+ Add rest of the dry ingredients mixing in a light motion.
+ Here the macronnage starts; Macaronnage is a process used when mixing batter.
Tilt your mixing bowl to the side and press and spread out the batter against the bowl's sides, scoop the batter from the bottom and turn it upside down. Repeat this process about 15 times.
Note: If the process is done less than 10 times the macaron may lack lustre, repeat the process more than 20 times and you will have worked the batter too much resulting in oil stains on the surface of your macaron.
Another helpful hint, try keeping your almond meal in the fridge or freezer, this will ensure that heat will not ruin your meal. Almond meal spoils very easily and it's a fairly pricey item to be buying every time you a feeling like visiting the streets of Paris!
+ Attach a .4inch or 1.01cm round tip to a pastry bag
HINT: Before heaping the mixture into the bag, give the tip a twist so that the bag is closed off just before the tip, this will make it easier to scoop all the mixture into the pastry bag without any spillages.
+ Pour batter into your pastry bag and your are ready to pipe.
+ Pipe batter onto your pre circled baking sheet.
+ Give the bottom of your baking sheet a light tap with the palm of your hand or a flat surface. This helps round the macaron and also helps the pied or foot develop.
+ Before baking dry your macarons at room temp for anywhere between 15 to 30mins depending the humidity level. It's pretty dry in Arizona so 15 mins was plenty of time for mine. You will know they are done when you can touch the batter slightly with your finger and nothing sticks to your finger.
+ Place your baking sheet inside another baking sheet of the same size, doubling up on baking sheets prevents the bottom of the macaron from burning or being over baked.
+ Bake for 15 to 18 mins until slightly crisp on top. I would keep my eye on them from about 14mins onward as they can go from slightly undercooked to wayyyyyy too crispy in seconds.
+ Remove macarons and place on a wire rack to cool. In this time you can get the butter cream ready!
Raspberry Buttercream
Ingredients
8 tablespoons of softened unsalted butter
2/3 - 1 cup of powdered sugar or icing sugar
1/4 teaspoon of vanilla extract
2-3 fresh raspberries
+ Mash and soften butter with a spatula until butter becomes the consistency of mayo.
+ Slowly incorporate sugar, you can use your own taste buds and eyes to see if this is the right sweetness and consistency if this is too think then you can add cream or milk to thin this out.
+ Add vanilla extract and raspberries, you will notice your buttercream will become streaky red straight away. Mix the buttercream until you are happy with the color.
+ Add a small amount of buttercream to a macaron and sandwich between another!
+ Eat as many as your sweet little heart desires. I like to pair mine with a glass of almond milk or tea.
Happy baking friends!